
Blog


Best Buy & DIY Portable Closets: Heavy-Duty, Shelves, Doors & More
Do you live in an apartment with limited storage or a home where your closet space is just too small for all your clothes? If so, you’r...
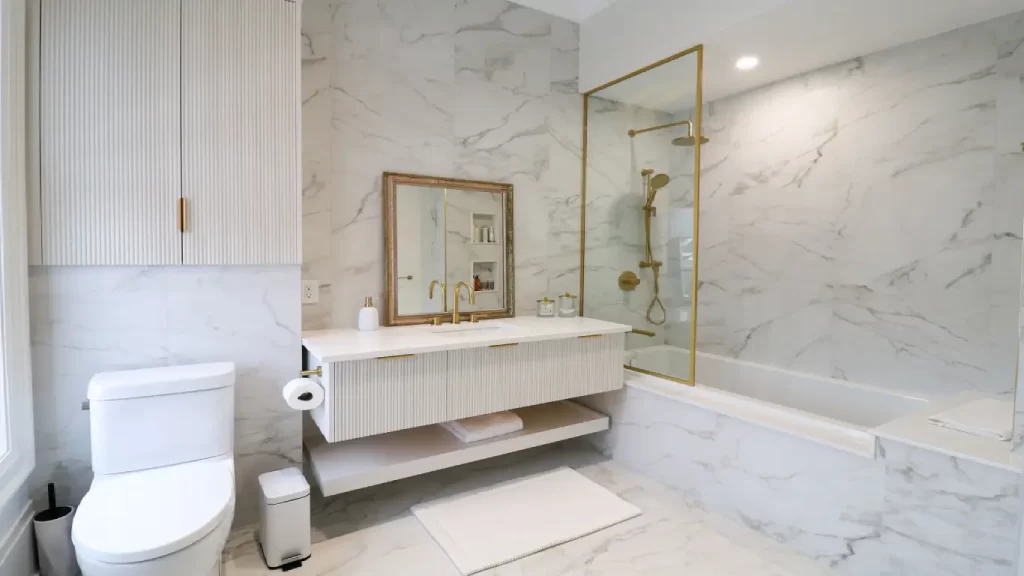
Wood Bathroom Vanity
In the world of interior design, few elements make a more lasting impression than a well-crafted wood bathroom vanity. At WoodyArt, we ...
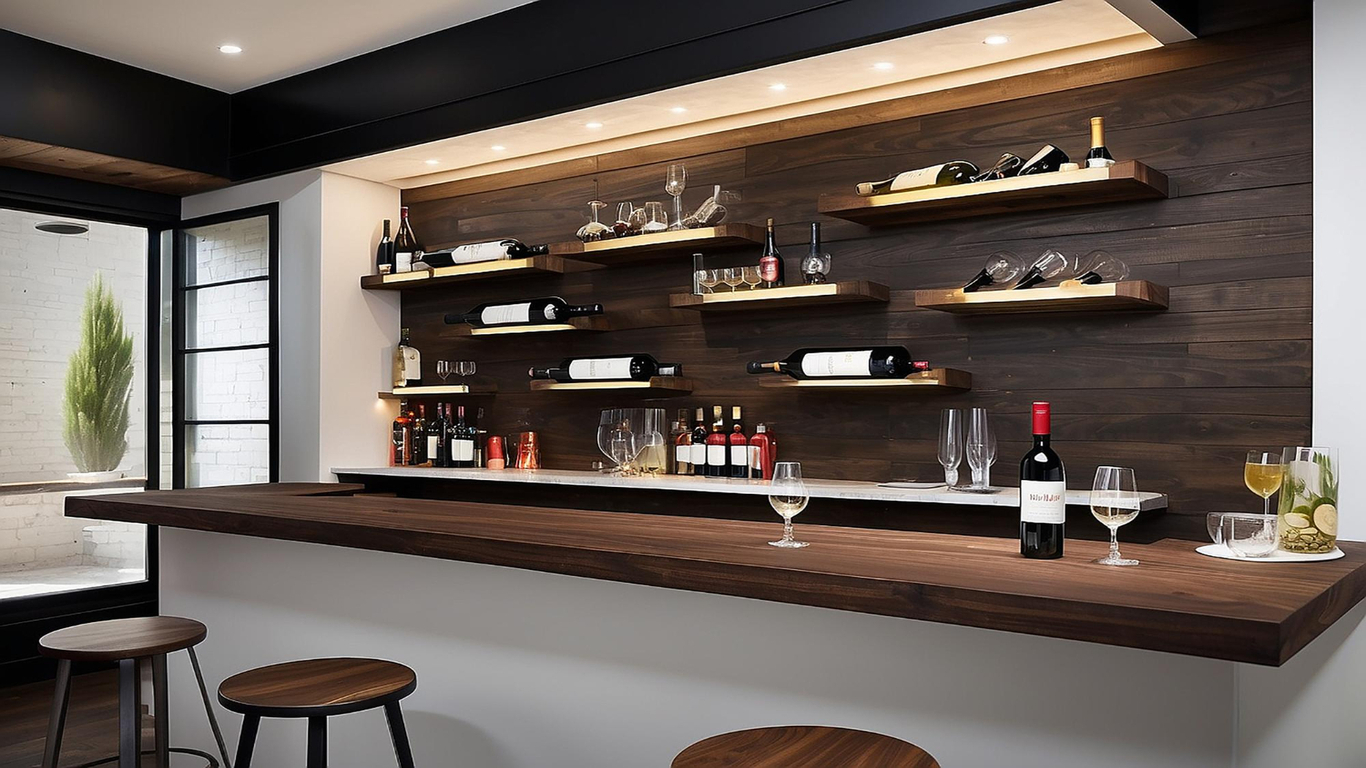
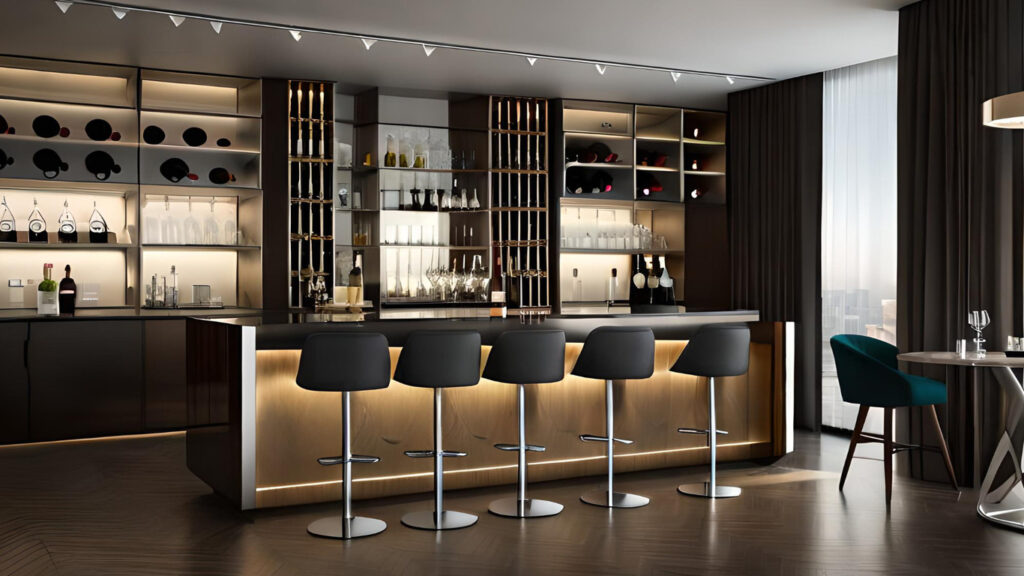
kitchen Bars
Cabinet bars are stylish and functional spaces that make a home more inviting. Whether used for serving drinks, storing bottles, or cas...
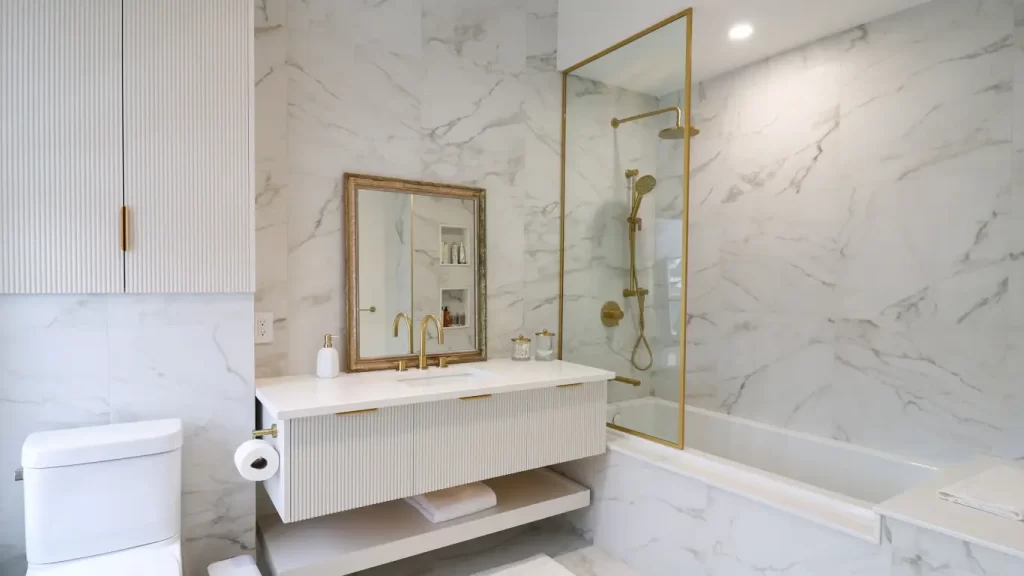
Luxury Vanity Tops
Vanity tops are more than just surfaces — they’re the crown jewel of any modern bathroom. Whether you're exploring premium bathroom cou...
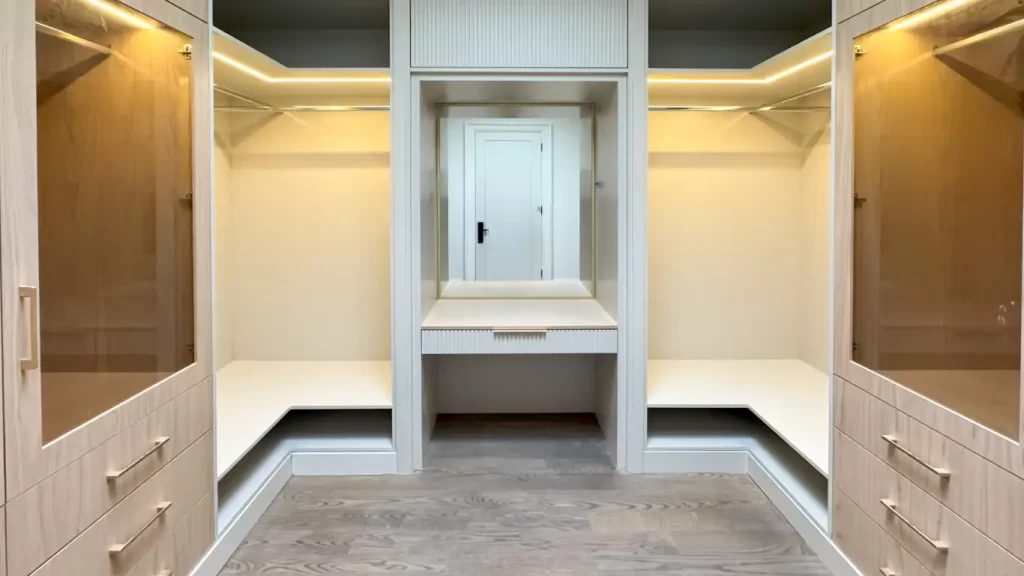
Closet Organizers
Closet chaos is real—and you're not alone. Whether your closet is too small, your shelves are overflowing, or you’re simply tired of di...
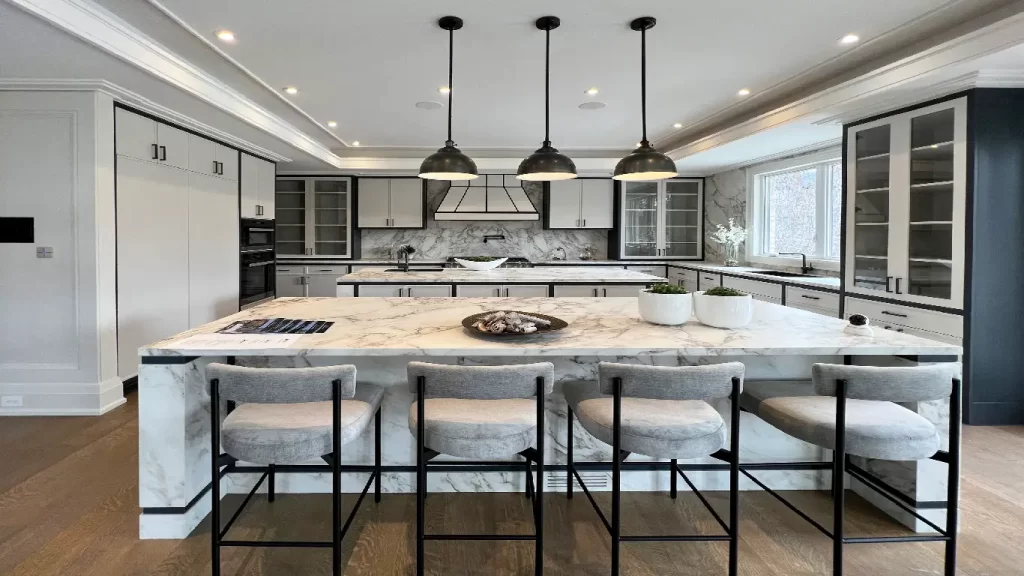
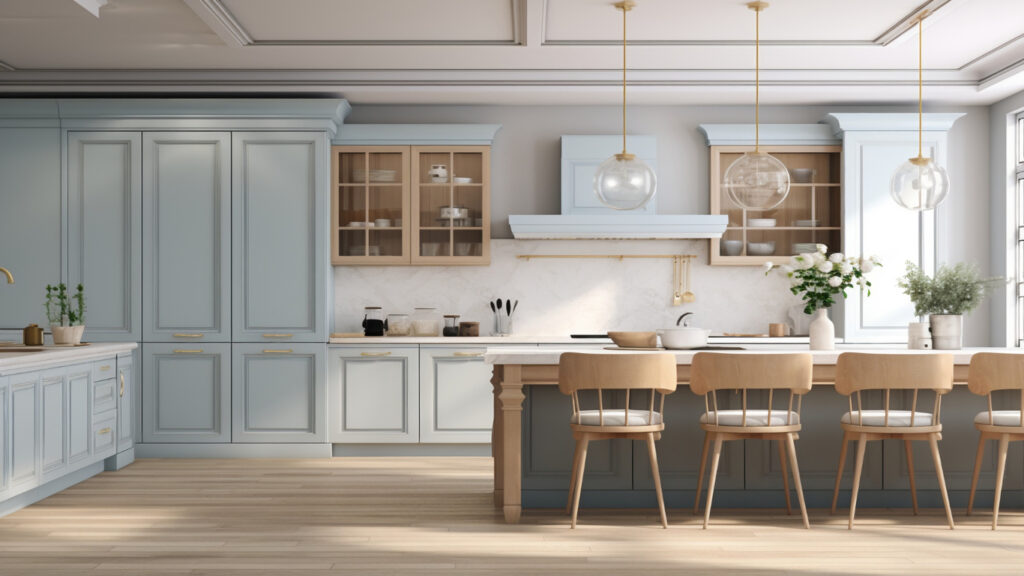
16 Stunning Kitchen Improvement Ideas
A beautifully designed kitchen isn’t just about looking good—it’s about creating a functional, efficient space that also serves as the ...
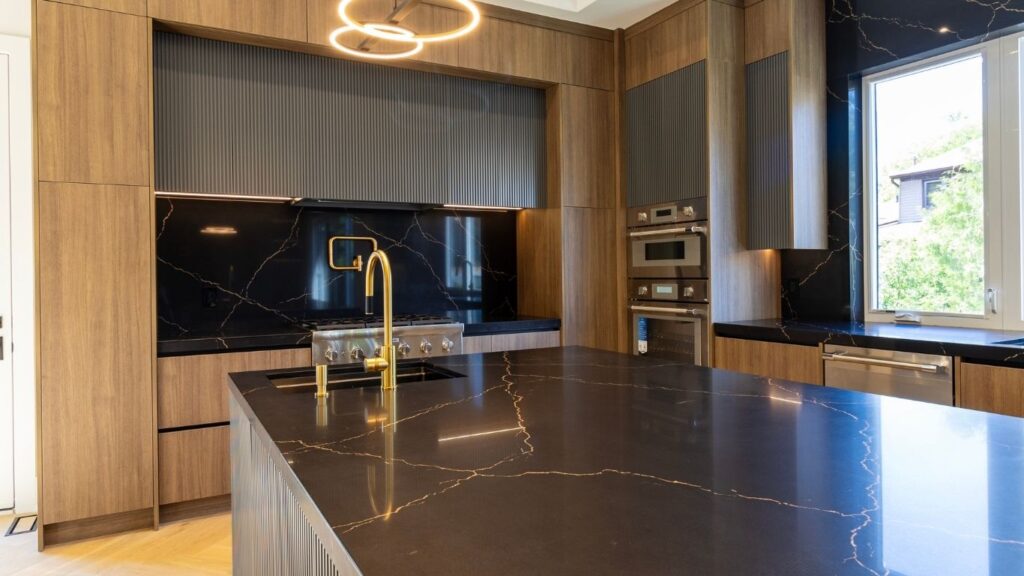
Kitchen Toronto: Eclectic Style Done Right
An eclectic-style kitchen is all about personality, creativity, and freedom. Unlike traditional kitchen styles that stick to a single a...
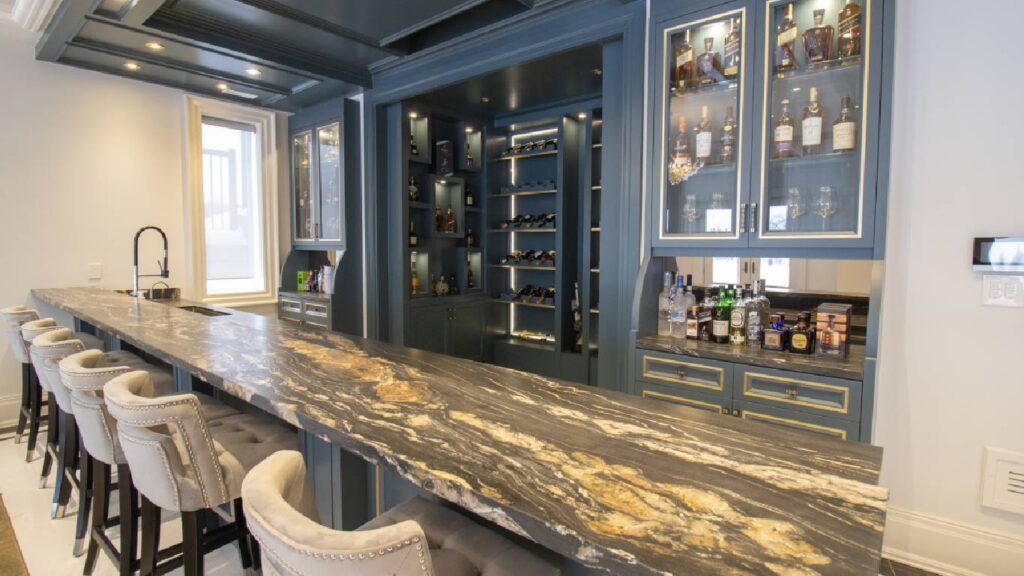
Home DIY Bar
Having a dedicated space to mix drinks, entertain friends, and unwind is a dream for many homeowners. Whether you're converting a basem...
Kitchen Unit Manufacturers: Choosing the Right Partner for Your Dream Kitchen
Full of life, kitchens become the heart of any home, and here every detail matters: from the layout to the finishing touch. The kitchen...
The Ultimate Guide to Changing Kitchen Cabinet Doors
One of the best and most cost-effective renovations is changing kitchen cabinet doors for a fresh, modern look. Your cabinet doors are ...
Top Quality Cabinets and Drawers for Every Kitchen with Woodyart
Planning a new kitchen or upgrading an old one? If you are building a new home, renovating the existing kitchen, or just looking to cha...

The Ultimate Guide to Cupboard Refinishing Process
Renovating your kitchen doesn't need to be an enormous undertaking. One cost-saving yet effective approach to resurfacing your space wi...