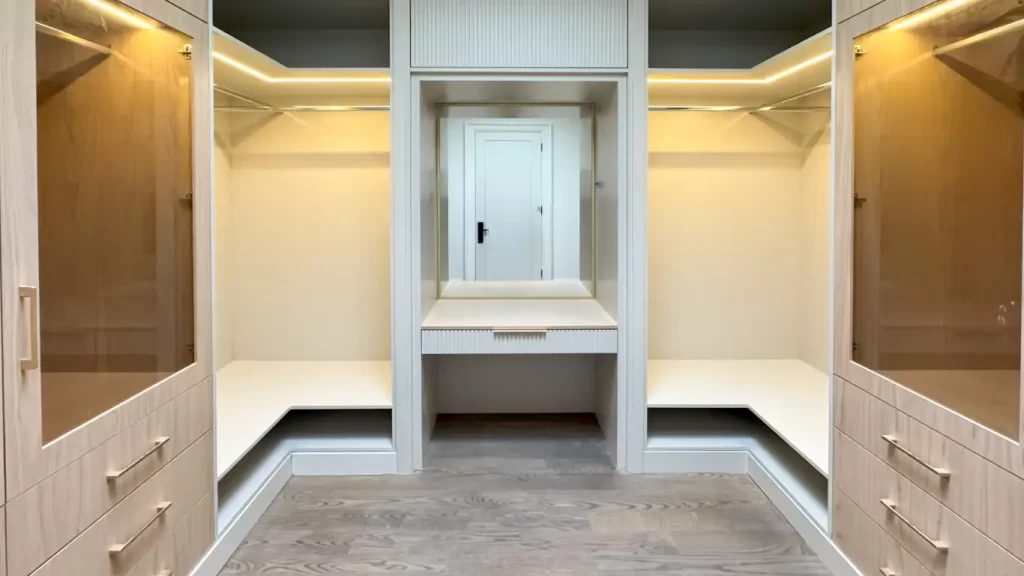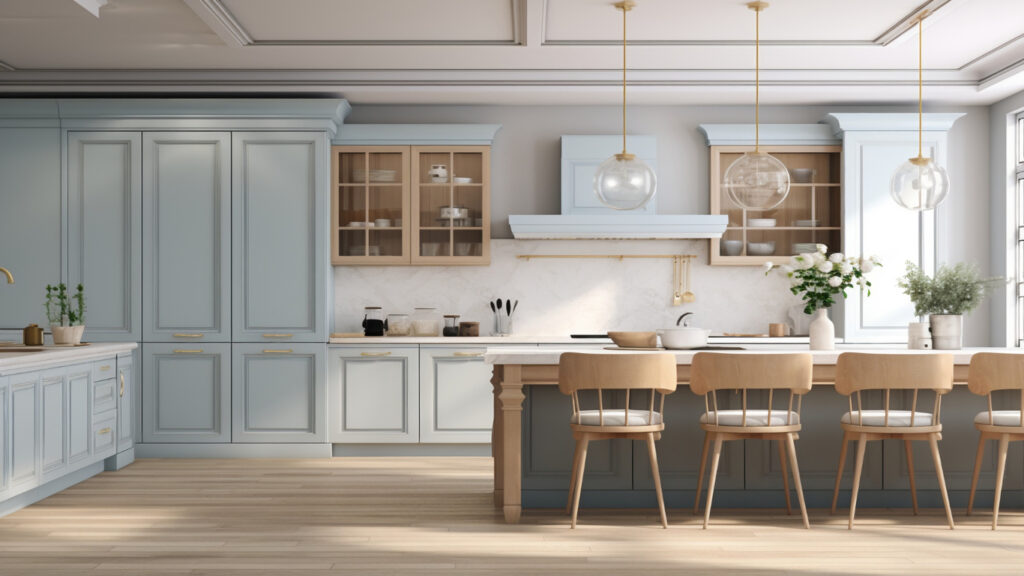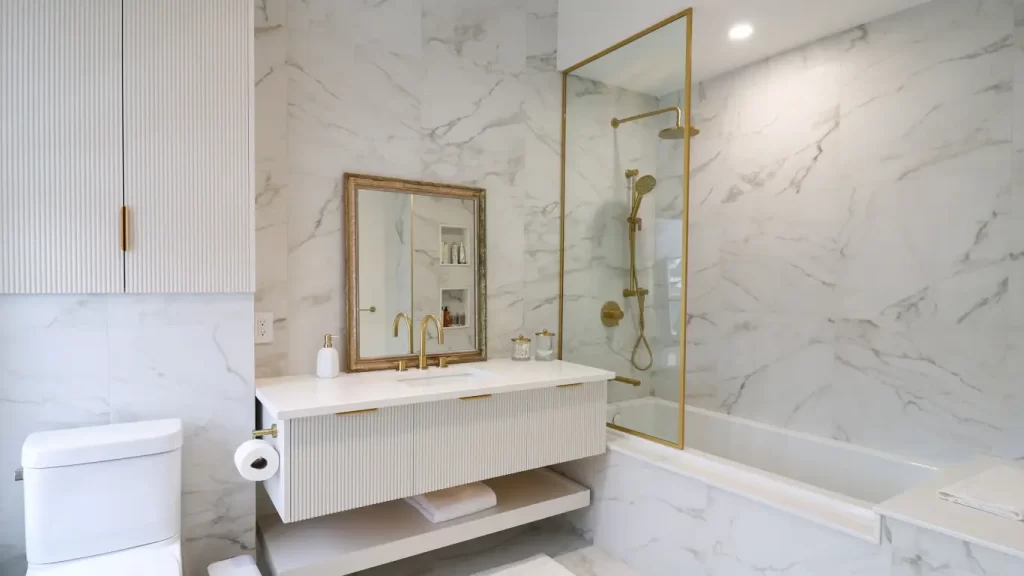
Luxury Vanity Tops
Vanity tops are more than just surfaces — they’re the crown jewel of any modern bathroom. Whether you're exploring premium bathroom cou...
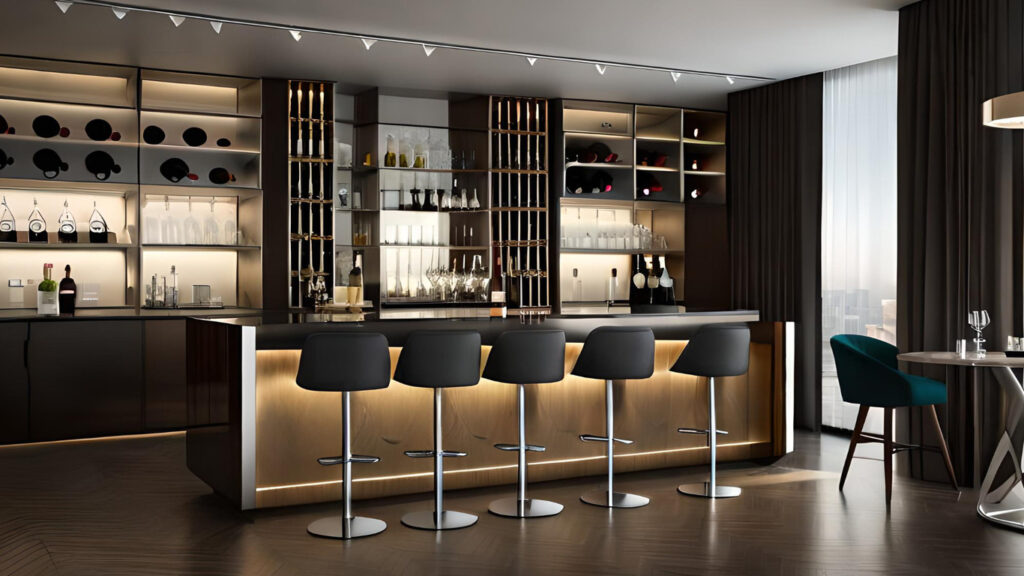
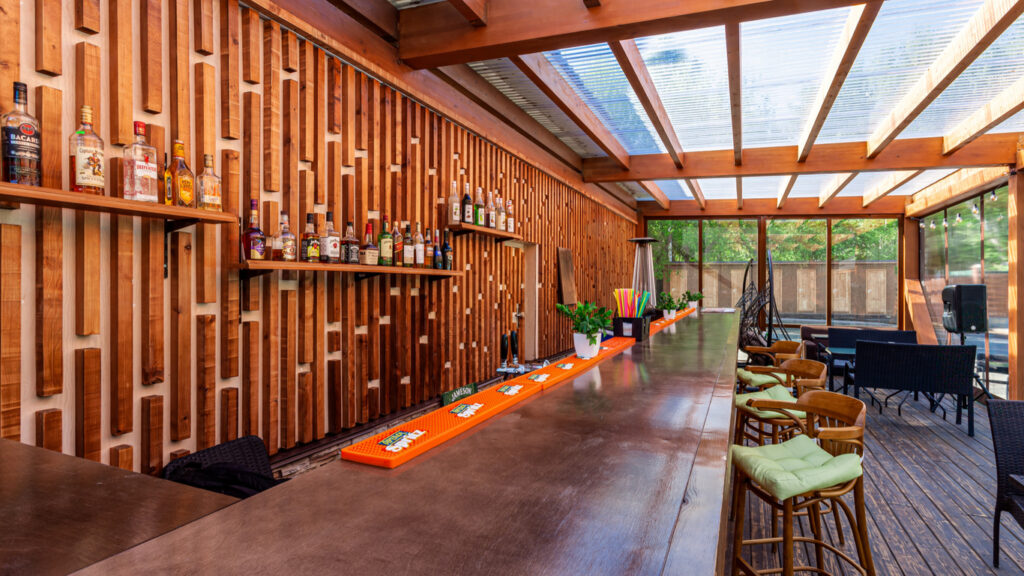
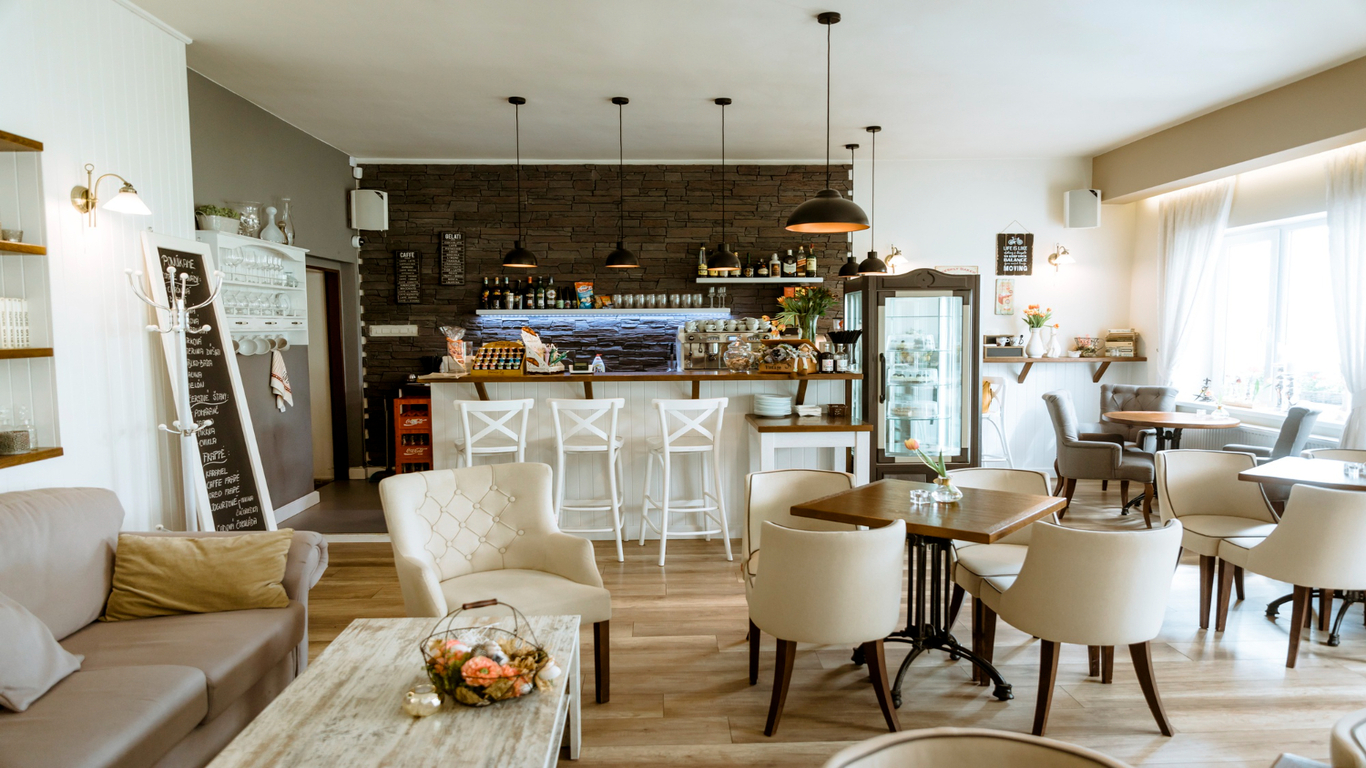
To have a diy at home bar is very satisfying, especially when it is self-made. It serves several purposes, such as cocktails with friends, a glass of wine after a hard day’s work, or even showcasing your handiwork, which just gives that old charm and functional touch to your space.
It’s about hosting friends and family for cocktails, chilling with a glass of wine after a long day, or even showing off your craftsmanship. That’s why we’re here to take you through the design and building process of a homemade bar that suits your space and your style. At Woodyart, we believe that every home deserves a handcrafted touch of grace. Want to turn your living room, basement, or patio into a lively hangout space? Let’s do it.
Taking up a DIY bar project is much more than just saving some cash (though you’ll save cash). It’s creativity, pride, and personalization.
Here’s the rundown on why you should build your bar:
Bar for game night, wine tasting, or grilling outdoors; this is viable for anyone, even beginners.
Before grabbing your toolbox, there are a few essential decisions to make.
Location is Everything
Where do you plan to install your bar?
Purpose of the Bar
Is your bar for:
Knowing this will shape your design.
Power, Lighting, and Plumbing
If you plan to include a mini fridge, sink, or lighting, you’ll need to consider:
Let’s talk shopping list. Building a bar doesn’t require a workshop full of tools, but a few essentials help.
Basic Tools You’ll Need:
Materials:
Optional: bar rail molding, glass shelves, metal accents
Woodyart offers curated kits and eco-friendly wood choices to make your DIY home bar journey as smooth as possible.
Here’s where the real fun begins.
Draw your plan. For a basic straight bar:
Add features like a foot rail, counter overhang, and storage compartments.
Use 2x4s to create a solid base:
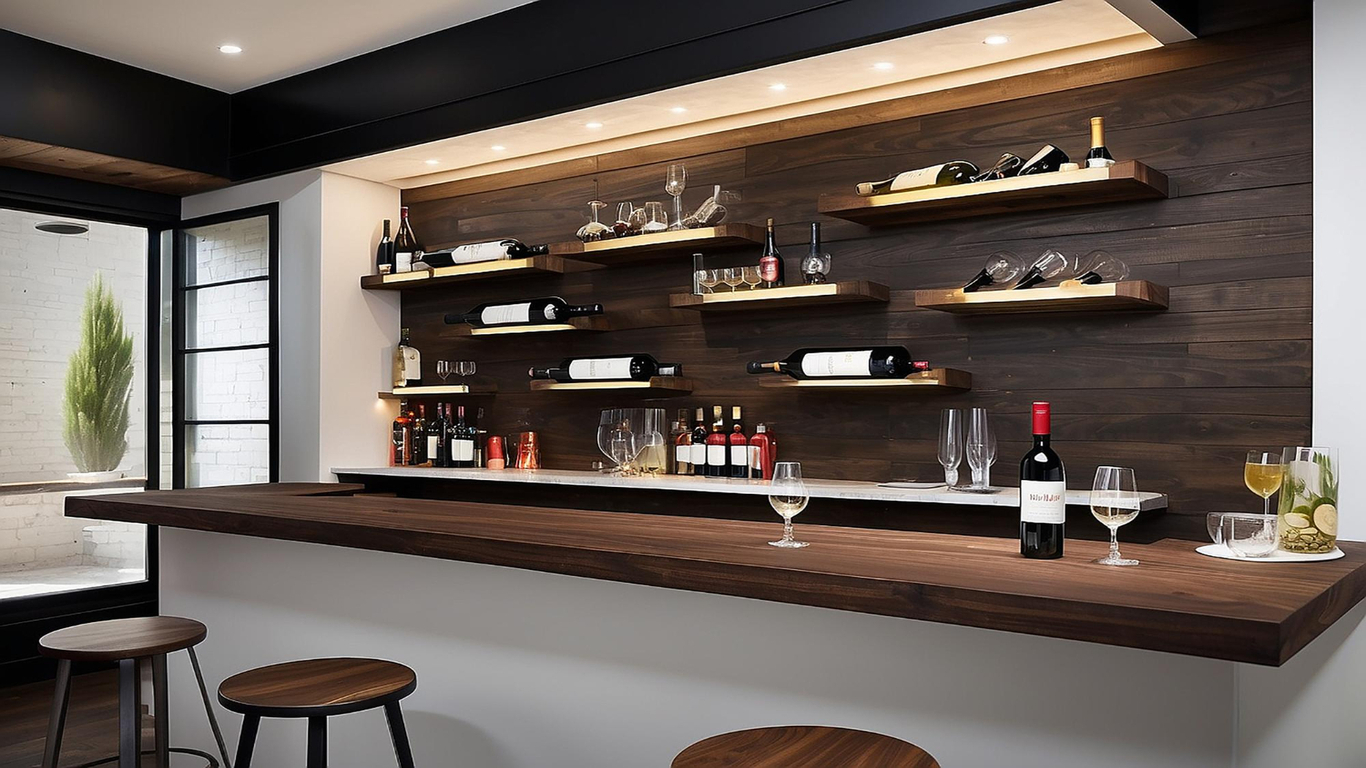
Use plywood, beadboard, or slats to enclose the frame. Add a plywood top, then finish with your preferred countertop material:
Smooth all surfaces. Then apply:
Install:
Not everyone needs a curved or multi-level setup. A simple straight bar is a great option if:
At Woodyart, we provide easy-to-follow, simple, straight bar plans that include:
This helps you complete your project confidently — even if it’s your first time.
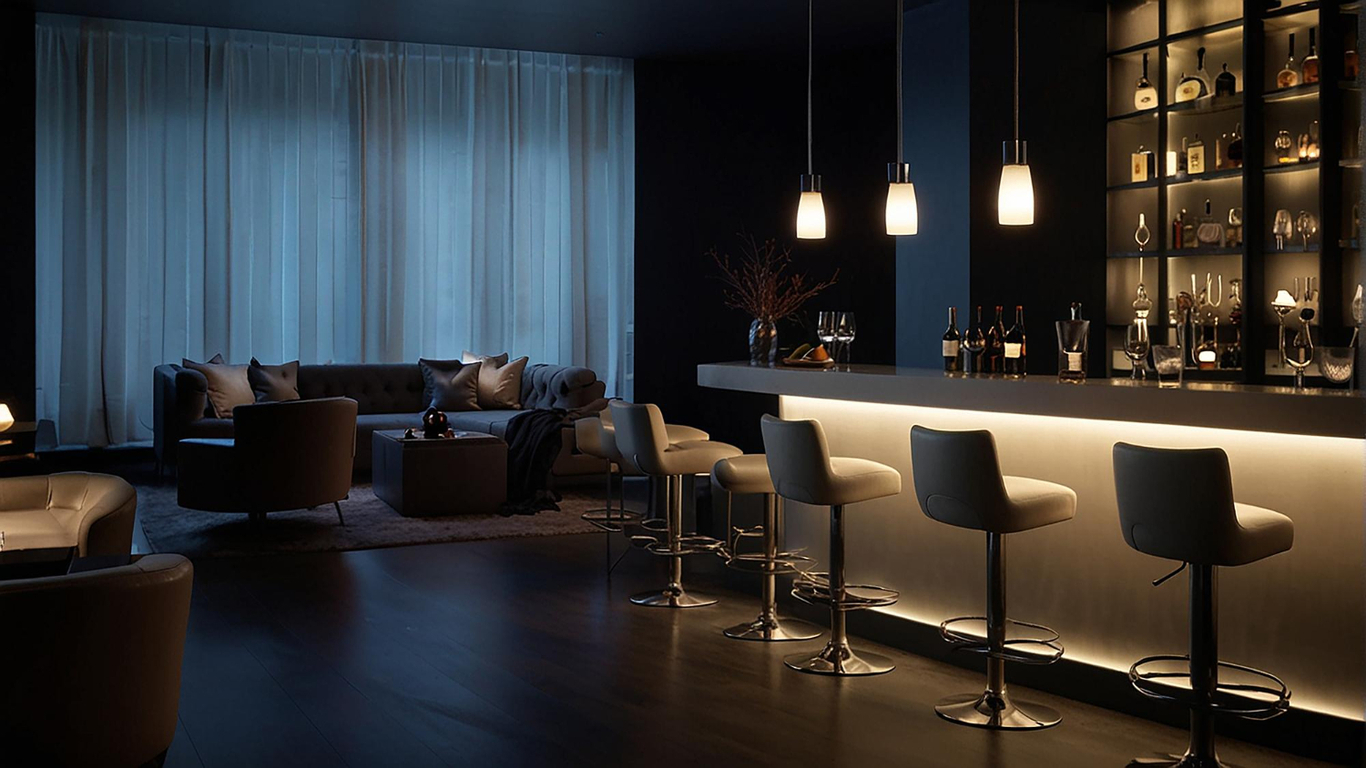
Here’s where you get to inject personality:
Short on space? Use a fold-down wall bar, repurpose a cabinet, or build a bar cart on wheels.
Your bar should reflect your home and habits. Consider:
With thoughtful design, your DIY at home bar becomes a true extension of your living space — a conversation starter, a relaxing retreat, and a source of pride.
Woodyart isn’t just another supplier — we’re a community for creators.
We offer:
Thousands of DIYers have trusted Woodyart to help them bring their dream homemade bar to life — and we’re ready to help you next.
It is a great time to build a bar at your place. With very few basic tools, a little planning, and proper materials, you can create a place that feels like an escape without leaving your living room.
Whether you want a simple straight bar plan or want to delve into a custom piece, Woodyart will assist and support you every step of the way. So grab your blueprint, pick your wood, and let’s build something you’ll be proud to lay a drink on.
Most simple bars can be finished over a weekend, depending on their size and complexity.
Absolutely! Firmly follow the most basic of plans and Woodyart’s video tutorials for support.
Inside, you would want a wood like pine, oak, or birch for durability and beauty. For outside bar, some types would include cedar or treated lumber, which resist the weather.
Usually no- unless for plumbing or electrical installation. Check with local restrictions.
Of course! We make plans with flexibility. Add your style. Shelves, finishes, design features; you choose!