Blog
Home DIY Bar
Having a dedicated space to mix drinks, entertain friends, and unwind is a dream for many homeowners. Whether you're converting a basement, garage, patio, or spare room, building a home bar is an exciting DIY bar project that adds value and fun to your home.
This comprehensive guide will walk you through every step—from planning and design to construction and finishing touches—so you can build your own bar with confidence.
Planning Your DIY Bar: What You Need to Know First
Before grabbing your toolbox, there are a few essential decisions to make.
Location is Everything
Where do you plan to install your bar?
- Indoors: Living rooms, basements, dining rooms, or unused corners
- Outdoors: Patios, decks, poolside areas (be sure to weatherproof!)
- Multi-purpose areas: A rolling bar cart design if you’re short on space
Purpose of the Bar
Is your bar for:
- Cocktail mixing?
- Wine and liquor storage?
- Coffee and mocktails?
- Display and ambiance?
Knowing this will shape your design.
Power, Lighting, and Plumbing
If you plan to include a mini fridge, sink, or lighting, you’ll need to consider:
- Proximity to outlets
- Water sources for plumbing (if any)
- Ambient and task lighting (think under-shelf LEDs)
Tools and Materials for Building a Homemade Bar
Let’s talk shopping list. Building a bar doesn’t require a workshop full of tools, but a few essentials help.
Basic Tools You’ll Need:
- Power drill
- Circular saw or miter saw
- Hammer and nails, or a brad nailer
- Screws, brackets, wood glue
- Measuring tape
- Level
- Sander or sandpaper
- Clamps
Materials:
- Framing lumber (2x4s are common)
- Plywood or MDF for panels and the countertop
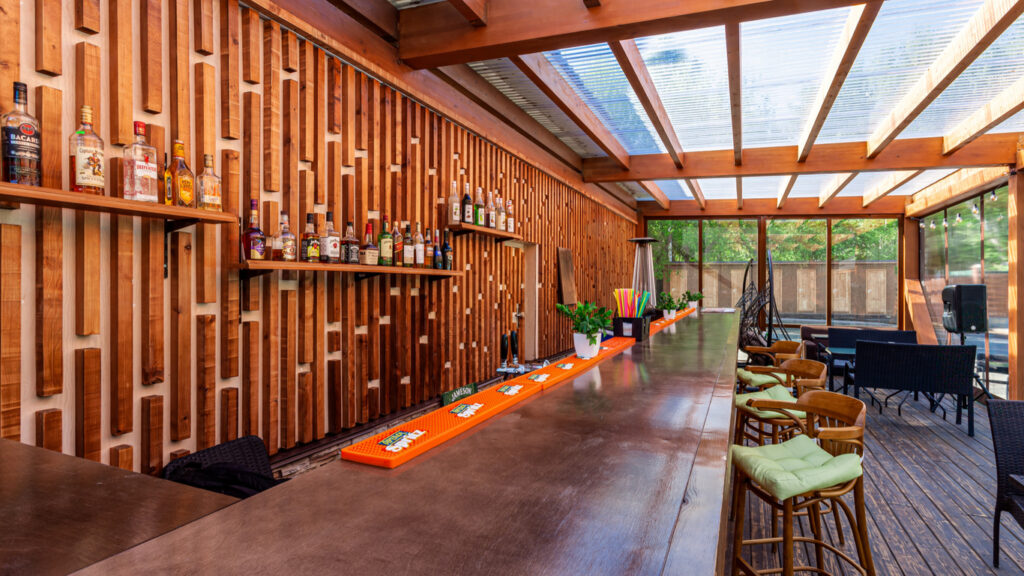
- Finish wood for front paneling (reclaimed wood looks amazing!)
- Stain or paint, polyurethane
- Trim, molding, or edge banding for style.
Step 1: Choosing the Perfect Location for Your DIY Bar
Before you start building a home bar, the first decision is where to place it. The right location depends on your entertaining style, available space, and personal preferences.
Best Spots for a Home Bar
- Basement Bar– Ideal for a man cave or entertainment hub.
- Garage Bar– Great for a casual, industrial-style hangout.
- Outdoor/Patio Bar– Perfect for warm-weather entertaining.
- Living Room Bar– A stylish addition for smaller gatherings.
- Pub Shed/She Shed– A standalone retreat in the backyard.
- Tiki Bar– A fun, tropical-themed escape.
Read More: Bar Ideas for Outside
Wet Bar vs. Dry Bar: Which is Right for You?
- Wet Bar – Includes a sink and plumbing, making it ideal for frequent cocktail-making.
- Dry Bar – No plumbing required; simpler and more budget-friendly.
Step 2: Designing Your DIY Home Bar Layout
Once you’ve picked the perfect spot, it’s time to design your homemade bar. Careful planning ensures functionality and style.
Key Measurements for Building a Bar
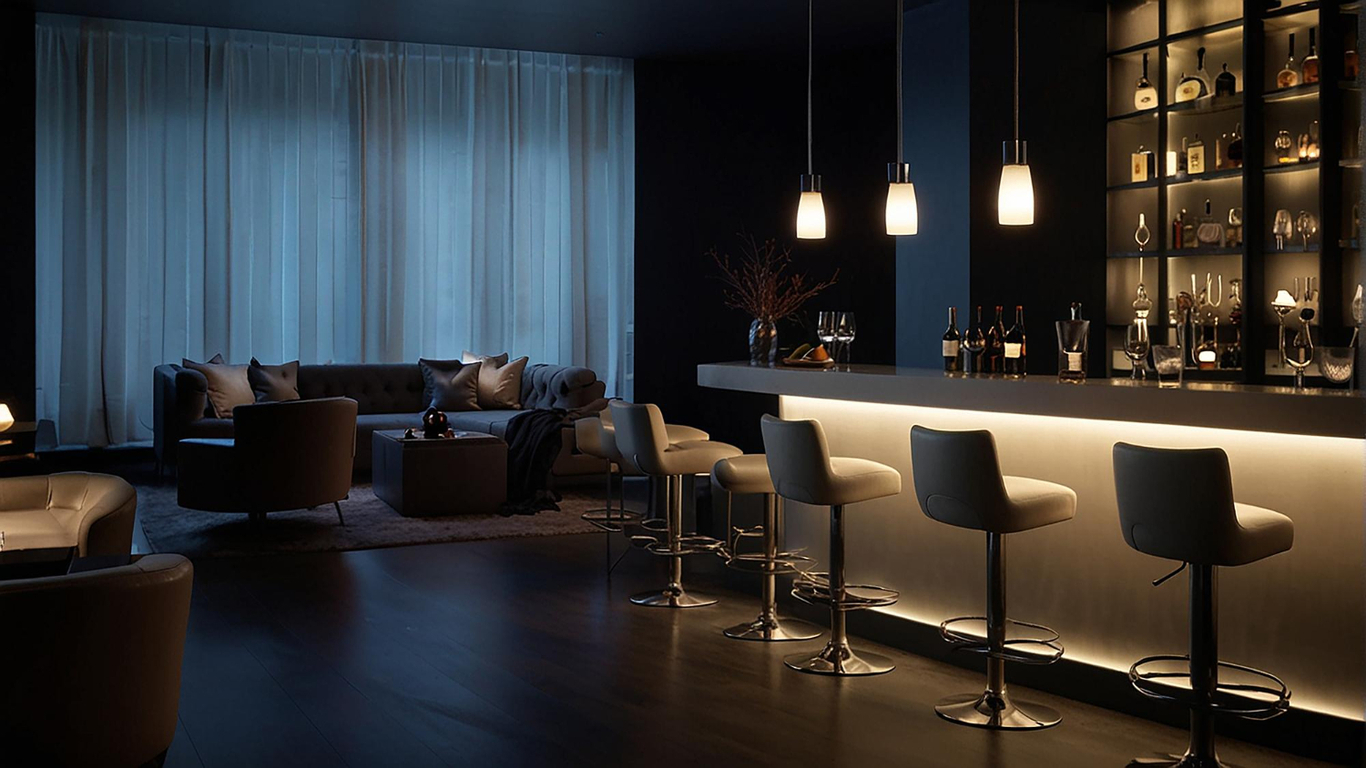
Height: Standard bars are 42 inches tall.
- Depth: Typically, 24 inches for comfortable reach.
- Stool Spacing: Allow 2 feet per stool for seating comfort.
Read More: Restaurant Bar Design for Home
Popular Bar Shapes
Straight Bar – Simple and space-efficient.
- L-Shaped Bar– Great for corner spaces.
- U-Shaped/Horseshoe Bar – Best for larger areas.
For a simple straight bar plan, sketch your layout on the floor with chalk or painter’s tape to visualize spacing.
Step 3: Selecting Materials & Custom Features
The materials you choose will define the look and durability of your DIY home bar.
Best Materials for Building a Bar
- Wood (Pine, Oak, or Reclaimed Wood) – Classic and customization.
- Metal & Epoxy– Modern and industrial.
- Concrete or Stone– Durable and sleek.
Must-Have Bar Features
- Bar Rail Molding– Adds a polished, professional edge.
- Foot Rail– Enhances guest comfort.
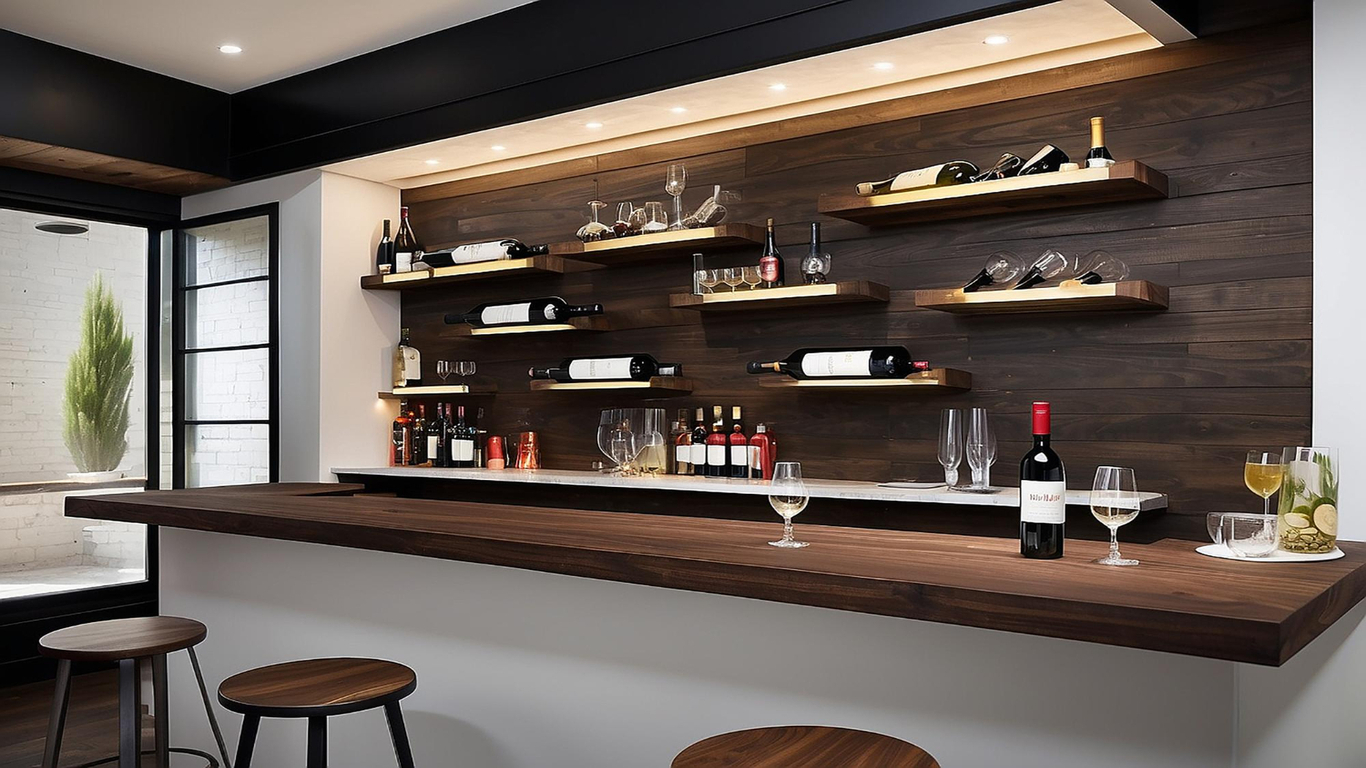
- Back Bar & Shelving– Stores liquor bottles and glassware.
- Drink Rail– Protects the bar top from spills.
Read More: Kitchen Bar
Step 4: Essential Appliances & Utilities
A well-equipped bar needs the right appliances for functionality.
Must-Have Bar Appliances
- Bar Fridge or Kegerator– Keeps drinks ice-cold.
- Ice Machine– Essential for cocktails.
- Bar Sink(for wet bars) – Makes cleanup easier.
- Blender & Drink Tools– For crafting cocktails.
Read More: Contemporary Home Bar Styles
Step 5: DIY vs. Hiring a Contractor
Now, decide whether to build your own home bar or hire a professional.
DIY Home Bar Build
Pros:
- Cost-effective
- Fully customization
- Rewarding project
Cons:
- Requires time and tools
- Some woodworking skills needed
Hiring a Contractor
Pros:
- Professional finish
- Faster completion
Cons
- Higher cost to build a home bar
Read More: Lounge Bars
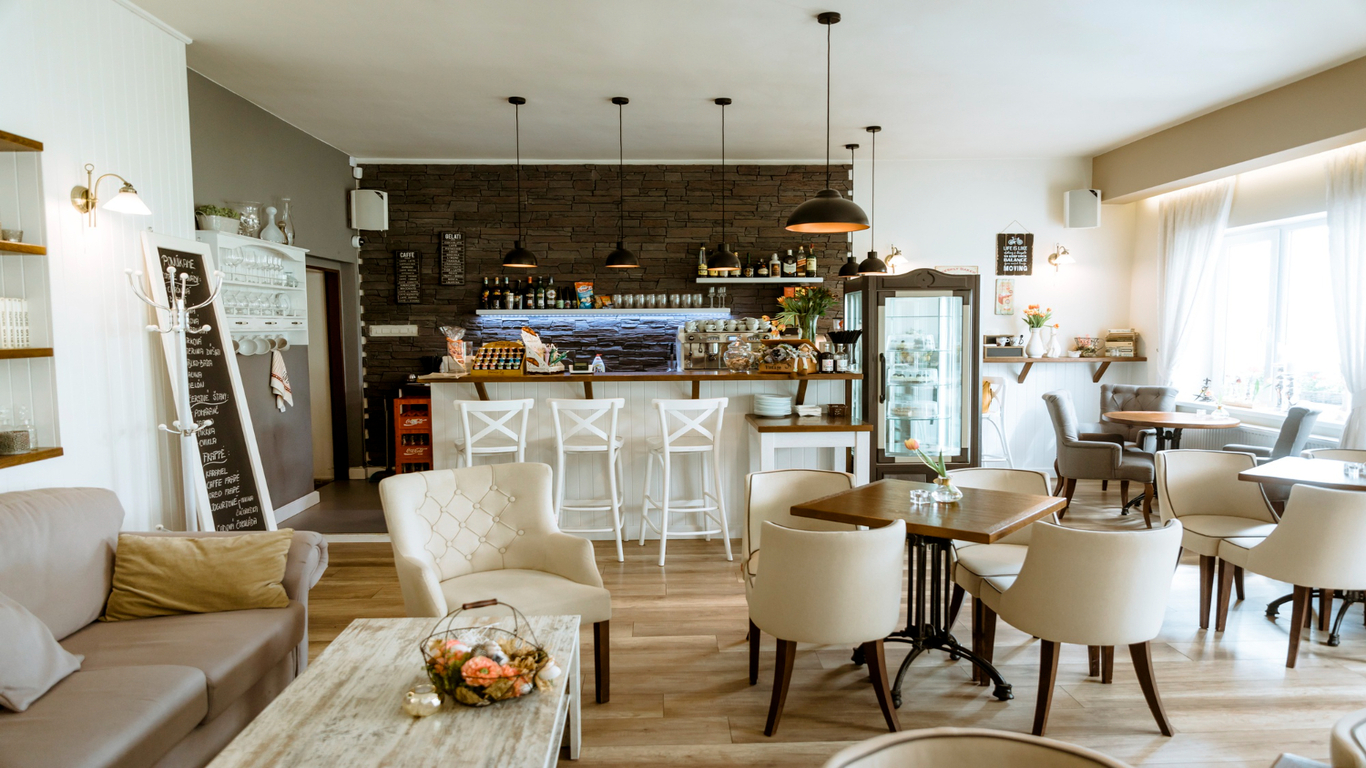
Stocking & Decorating Your DIY Bar
Once construction is done, it’s time to personalize your space.
Essential Bar Supplies
- Glassware (rocks, pint, martini glasses)
- Cocktail shaker, jigger, strainer
- Bottle opener, wine key, muddler
Decor Ideas to Elevate Your Bar
- Neon Signs– Adds a fun vibe.
- Bar Mirror– Expands the space visually.
- Themed Decor(Sports, Vintage, Tiki) – Makes it unique.
Read More: Wine Bar Design
Common Mistakes to Avoid When Making a Bar
- Skipping measurements: Always measure twice. Wrong dimensions lead to wobbly structures and misfitting materials.
- Low-grade materials: A bar takes wear and tear — choose durable wood and sealants.
- Ignoring user flow: Think about how you’ll use the bar. Is there enough room to stand, mix, and store?
- No waterproofing: Especially important for outdoor bars or near sinks
Creative DIY Home Bar Ideas for Every Style
Here’s where you get to inject personality:
- Rustic charm: Reclaimed barn wood, iron accents, Edison bulbs
- Modern sleek: Glossy black finishes, LED lighting, glass shelves
- Industrial vibes: Pipe shelves, concrete tops, matte metal
- Tropical tiki bar: Bamboo panels, thatch roofing, colorful stools
- Minimalist: Hidden cabinets, clean white surfaces, no clutter
Short on space? Use a fold-down wall bar, repurpose a cabinet, or build a bar cart on wheels.
Why a DIY Home Bar is the Perfect Weekend Project
Taking up a DIY bar project is much more than just saving some cash (though you'll save cash). It's creativity, pride, and personalization.
Here's the rundown on why you should build your bar:
- Luxury under budget: Pre-manufactured bars cost thousands of dollars. With the right plan, you can create an even better and more attractive setup for a tiny fraction of that price.
- Customization: You are not tied, say, to factory-made designs. Want a rustic oak look? Or would you prefer something sleek and modern with a high-gloss finish? Anything and everything is possible.
- Satisfaction: Nothing rewards a drink more than sitting inside a space you built.
Bar for game night, wine tasting, or grilling outdoors; this is viable for anyone, even beginners.
Final Thoughts: Enjoy Your DIY Home Bar!
Now that you know how to build your own home bar, it’s time to get started! Whether you follow simple straight bar plans or design a custom masterpiece, your DIY bar will be the ultimate entertainment spot.
Ready to build? At Woodyart, we’re here to help you gather your tools, pick the perfect spot, and start crafting the DIY home bar of your dreams. Cheers to creating something truly yours!
FAQs About Building a Home Bar
A basic DIY bar can cost $500-$2,000, while a high-end custom build can exceed $5,000.
A simple straight bar is the easiest for beginners.
Yes, but power tools (like a saw and drill) make the job much faster.
A weekend for a basic bar; 1-2 weeks for a more elaborate setup.

